生产环境非容器CICD+回滚

本文将完成 GitLab+Jenkins+Tomcat 的 CI/CD,并通过 Jenkins 的参数化构建完成 jenkins 的回滚,本文采用的回滚方式,是我在 git tag 和 脚本 两种方案之间选择的脚本回滚,因为考虑到 tag 方式还需要额外维护 tag 外,每次回滚需要重新构建;而脚本回滚的方式,每次构建会将构建结果做一个备份,回滚时直接使用备份即可,无需重复构建。
环境
| HOST | Service | OS | Mem(生产建议再大点) | CPU |
|---|---|---|---|---|
| 192.168.1.10 | GitLab | CentOS 7.5 | 4G | 4 |
| 192.168.1.11 | Jenkins | CentOS 7.7 | 4G | 4 |
| 192.168.1.12 | Tomcat | CentOS 7.6 | 4G | 4 |
部署GitLab
安装依赖
yum install -y curl policycoreutils-python openssh-server perl检查 sshd 服务是否启用,一般是装完系统都有,接下来安装邮件服务(可选)
yum install -y postfix
systemctl --now enable postfix
开放防火墙
firewall-cmd --permanent --add-service=http
firewall-cmd --permanent --add-service=ssh
firewall-cmd --reload
添加 GitLab repo 仓库
curl -s https://packages.gitlab.com/install/repositories/gitlab/gitlab-ce/script.rpm.sh | sudo bash安装 gitlab-ce
yum -y install gitlab-ce修改配置文件
$ vim /etc/gitlab/gitlab.rb
# 生产环境中使用公司域名
external_url 'http://192.168.1.10'
# gitlab登录密码,最少8位
gitlab_rails['initial_root_password'] = "123456.com"
gitlab_rails['display_initial_root_password'] = true
gitlab_rails['store_initial_root_password'] = true
# nginx['listen_port'] = 8888 ,可以更改访问端口号,默认为80,更改之后,url中也要加端口号,如:http://192.168.1.10:8888
开放防火墙 80 端口
firewall-cmd --permanent --add-port=80/tcp
firewall-cmd --reload
重载配置以及启动 GitLab
gitlab-ctl reconfigure   # 时间较长
gitlab-ctl restart
访问 http://192.168.1.10,默认用户名 root,密码则是刚才设置好的
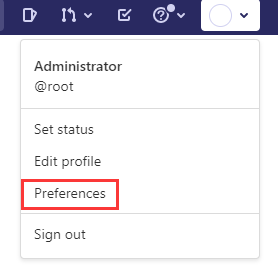
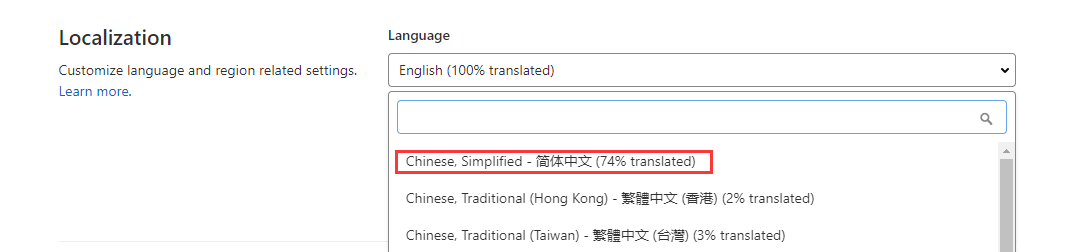
登录并设置为中文,保存,刷新页面即可
部署Jenkins
下载 jenkins repo 仓库
wget -O /etc/yum.repos.d/jenkins.repo https://pkg.jenkins.io/redhat-stable/jenkins.repo
rpm --import https://pkg.jenkins.io/redhat-stable/jenkins.io.key
安装 java 依赖:仅只支持 java8 或者 java11,oracle 的 openjdk 也可以
yum -y install epel-release
yum -y install java-11-openjdk-devel
安装 jenkins
yum -y install jenkins端口号8080,开放端口号
firewall-cmd --add-port=8080/tcp --permanent
firewall-cmd --reload
启动 jenkins
systemctl enable jenkins && systemctl start jenkins安装后设置向导
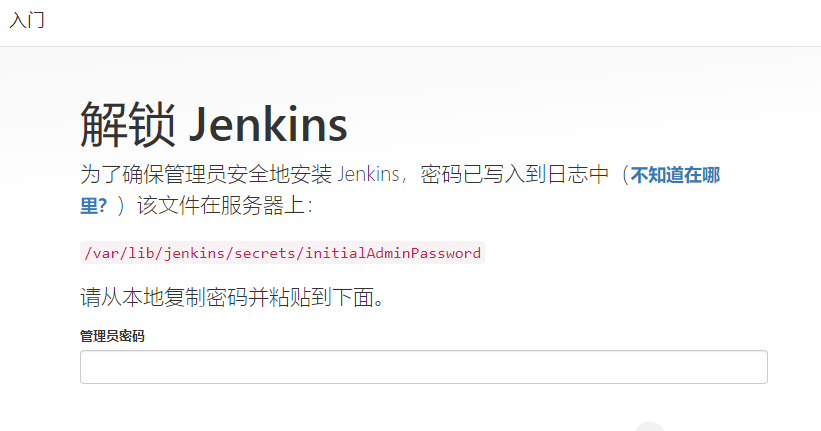
访问 http://192.168.1.11:8080
根据提示找到密码进入
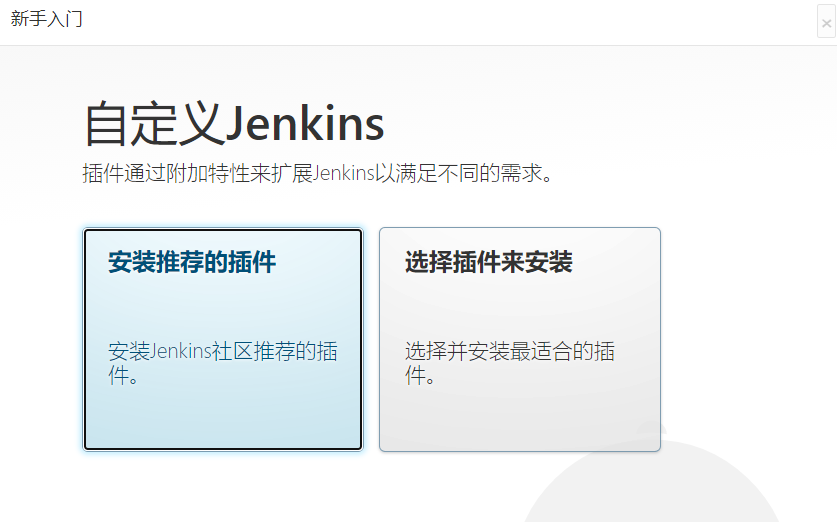
选择推荐
如果遇到下载插件报错,请参考
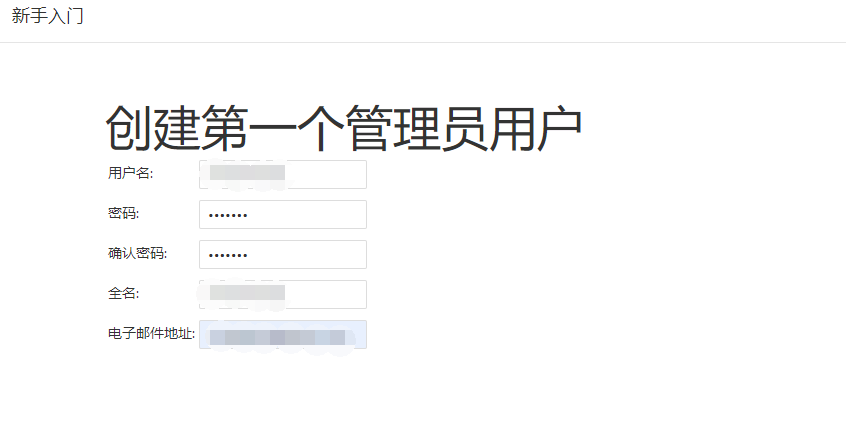
确认 URL 后,向导设置完成
Jenkins 服务用户调整
参考本站文章:GitLab-Jenkins-Tomcat 的 scp 报错部分
部署Tomcat
参考本站 Tomcat安装管理及优化
准备java环境
https://repo.huaweicloud.com/java/jdk/
wget https://download.java.net/openjdk/jdk11/ri/openjdk-11+28_linux-x64_bin.tar.gz
tar zxf openjdk-11+28_linux-x64_bin.tar.gz -C /usr/local/
设置 java 目录环境变量,先执行一遍,在放入文件,直接放入文件后两个不会生效
export JAVA_HOME=/usr/local/jdk-11
export CLASSPATH=$JAVA_HOME/lib
export PATH=$PATH:$JAVA_HOME/bin
cat << EOF >> /etc/profile
export JAVA_HOME=/usr/local/jdk-11
export CLASSPATH=$JAVA_HOME/lib
export PATH=$PATH:$JAVA_HOME/bin
EOF
删除系统中自带的 java,应用新的java
$ rm /usr/bin/java
$ source /etc/profile
$ java --version
openjdk 11 2018-09-25
OpenJDK Runtime Environment 18.9 (build 11+28)
OpenJDK 64-Bit Server VM 18.9 (build 11+28, mixed mode)
安装 Tomcat
wget https://dlcdn.apache.org/tomcat/tomcat-9/v9.0.53/bin/apache-tomcat-9.0.53.tar.gz
tar zxf apache-tomcat-9.0.53.tar.gz
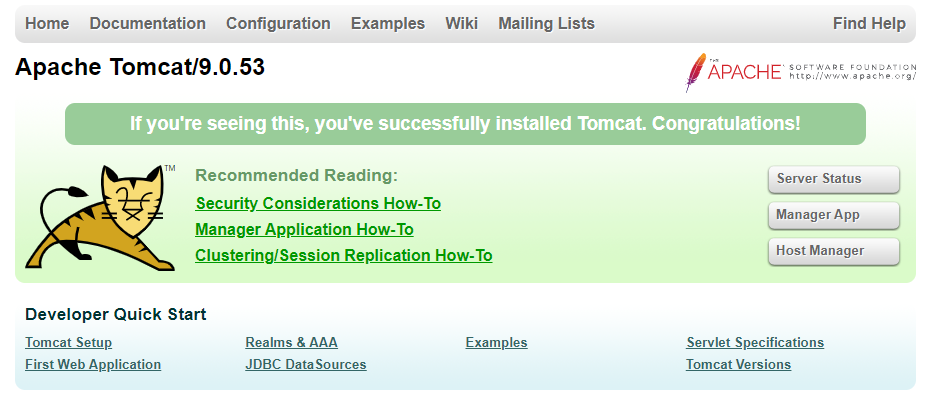
mv apache-tomcat-9.0.53 /opt/tomcat启动服务
/opt/tomcat/bin/startup.sh
firewall-cmd --add-port=8080/tcp --permanent
firewall-cmd --reload
访问 http://192.168.1.12:8080
授权 jenkins 访问 manager
$ vim /opt/tomcat/webapps/manager/META-INF/context.xml
# 以下内容注释
<!--
  <Valve className="org.apache.catalina.valves.RemoteAddrValve"
         allow="192.168.1.11" />
-->

$ vim /opt/tomcat/conf/tomcat-users.xml
<!--
<tomcat-users>和</tomcat-users>之间添加内容
-->
<role rolename="manager-gui"/>
<role rolename="manager-script"/>
<user username="tomcat" password="tomcat" roles="manager-gui,manager-script"/>
重启 tomcat
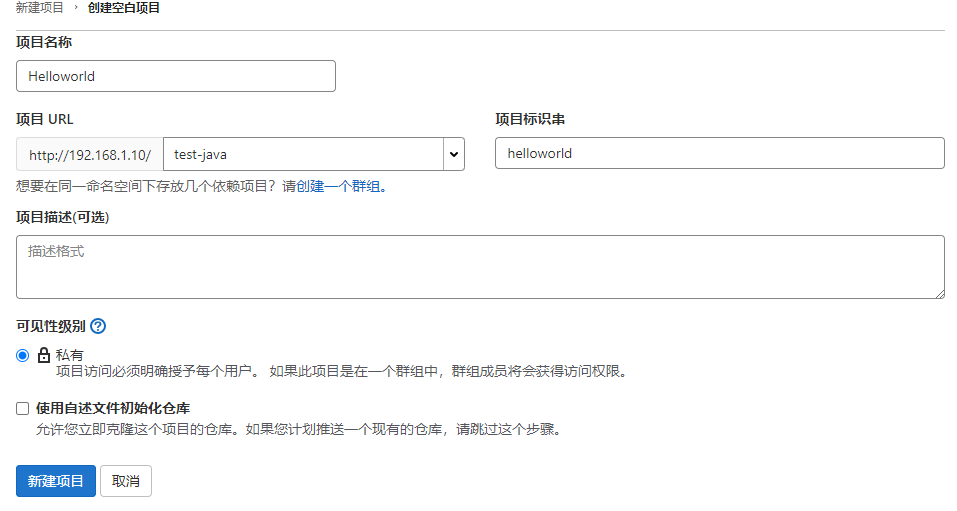
创建 gitlab 项目
登录 gitlab(http://192.168.1.10)
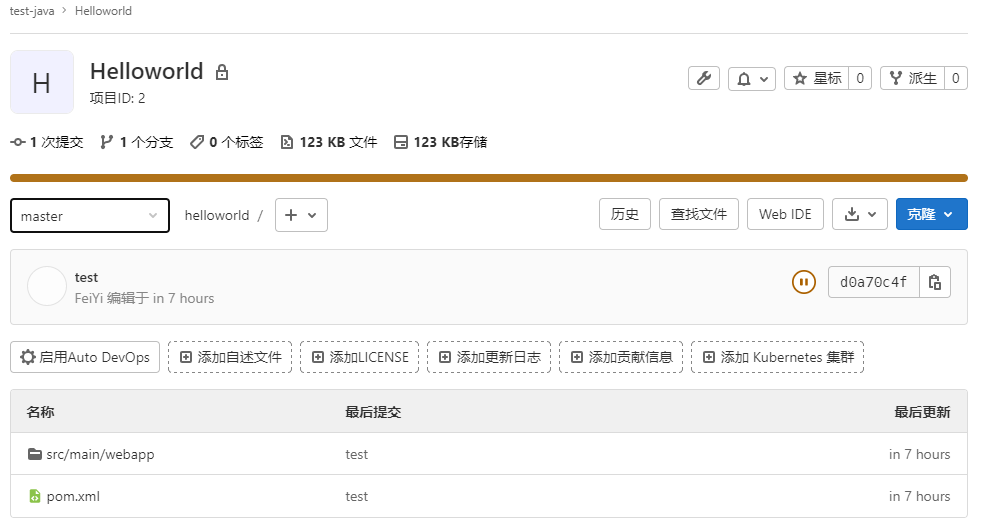
创建 helloworld 项目
jenkins 对 gitlab 的免密
两种方式都做上,发现执行 push 推送时用的是 ssh
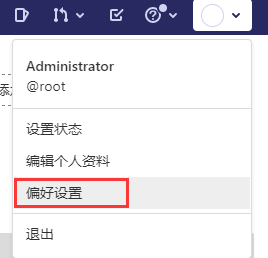
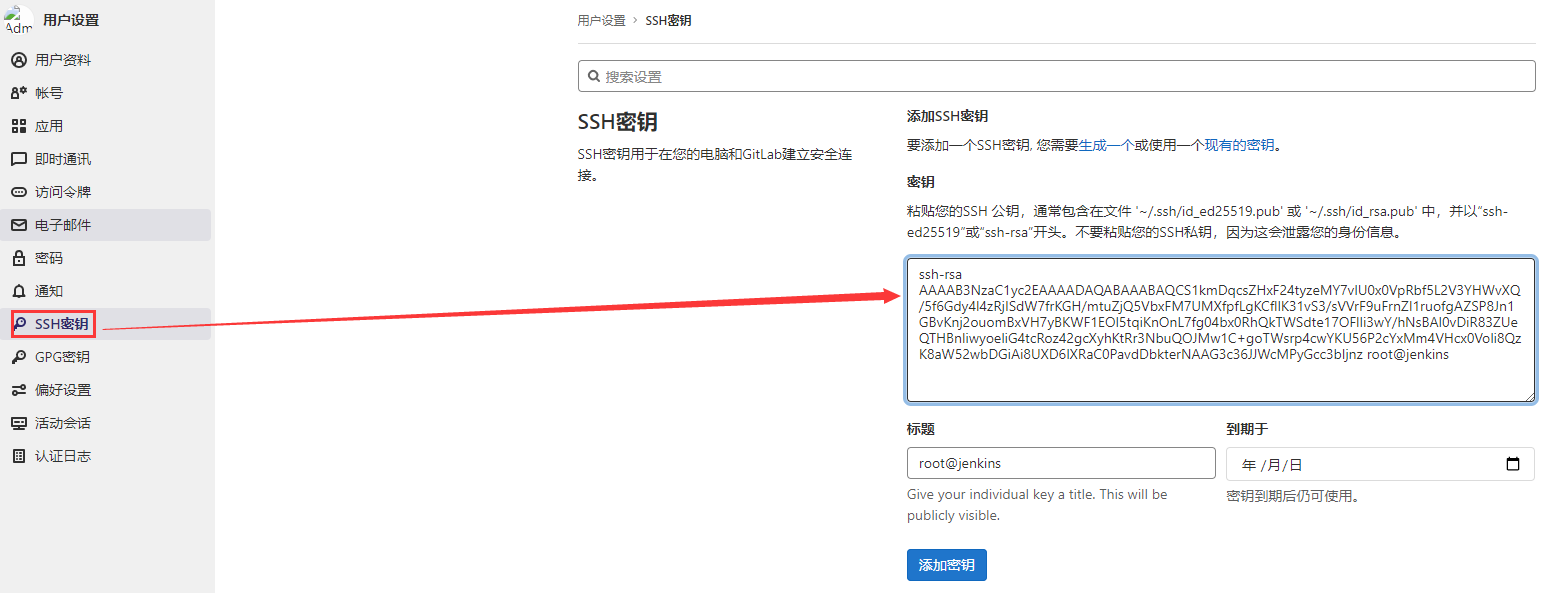
将 jenkins 的公钥放到 gitlab
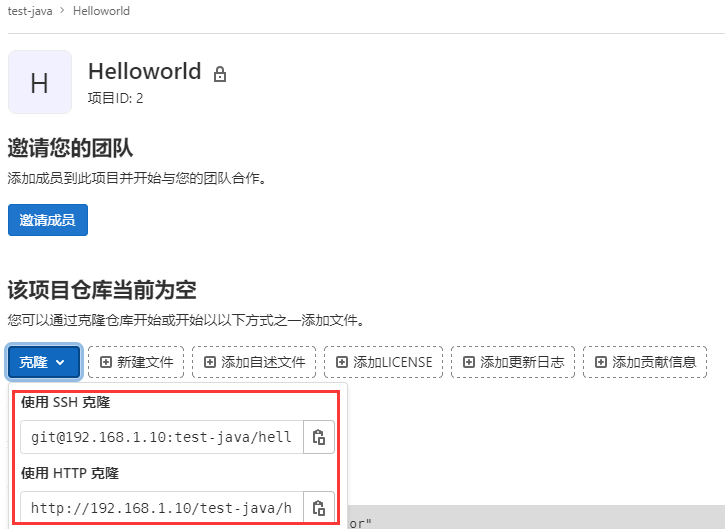
在 jenkins 本地测试,地址选择ssh
git clone git@192.168.1.10:test-java/helloworld.gitecho "http://root:123456.com@192.168.1.10/test-java/helloworld.git" > ~/.git-credentials
# @前面是user:password,root是gitlab用户名,123456.com是用户密码
git config --global credential.helper store
git clone http://192.168.1.10/test-java/helloworld.git准备测试 web 项目
我是在 gitlab 服务器来做的(本地对 gitlab 仓库做免密,参考以上 jenkins 免密方法),在 gitlab 服务器模拟开发环境,准备 maven 项目
安装maven:参考本站 Java项目管理-Maven
wget https://dlcdn.apache.org/maven/maven-3/3.8.2/binaries/apache-maven-3.8.2-bin.tar.gz
tar zxf apache-maven-3.8.2-bin.tar.gz -C /usr/local/ && cd $_
mv apache-maven-3.8.2/ maven
echo "export PATH=$PATH:/usr/local/maven/bin" >> /etc/profile
source /etc/profile
在本地 git 库创建 maven 项目:参考本站 Java项目管理-Maven
$ mkdir /opt/git && cd $_
$ mvn archetype:generate \
-DgroupId=com.feiyi.mupei \
-DartifactId=helloworld \
-DarchetypeArtifactId=maven-archetype-webapp \
-DinteractiveMode=false
将项目上传到 GitLab
cd /opt/git/helloworld
git init
git remote add origin git@192.168.1.10:test-java/helloworld.git
git add .
git config --global user.email "mupeifeiyi@gmail.com"
git config --global user.name "FeiYi"
git commit -m "first"
git push -u origin master
登录 gitlab 查看已上传的项目,且分支为 master
创建项目分支
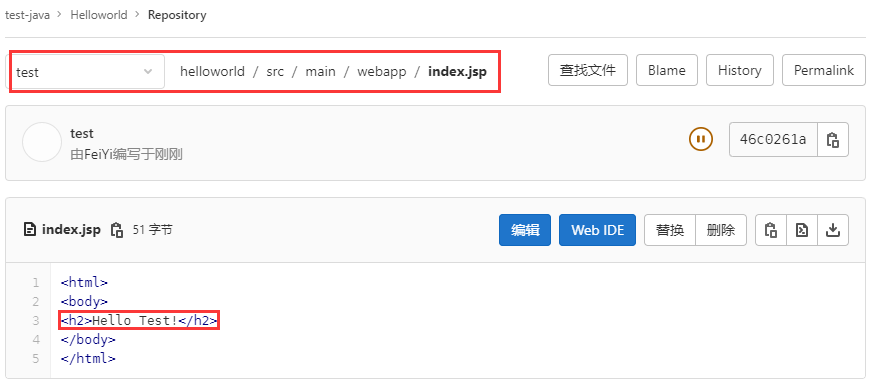
在命令行的项目中创建 test 分支,并提交更改到 test 分支
$ cd /opt/git/helloworld
$ git branch test
$ git checkout test
$ vim src/main/webapp/index.jsp
<html>
<body>
<h2>Hello Test!</h2>
</body>
</html>
$ git add .
$ git commit -m "test"
$ git push -u origin test
登录 gitlab 查看项目分支
同样的方式创建 prod 分支
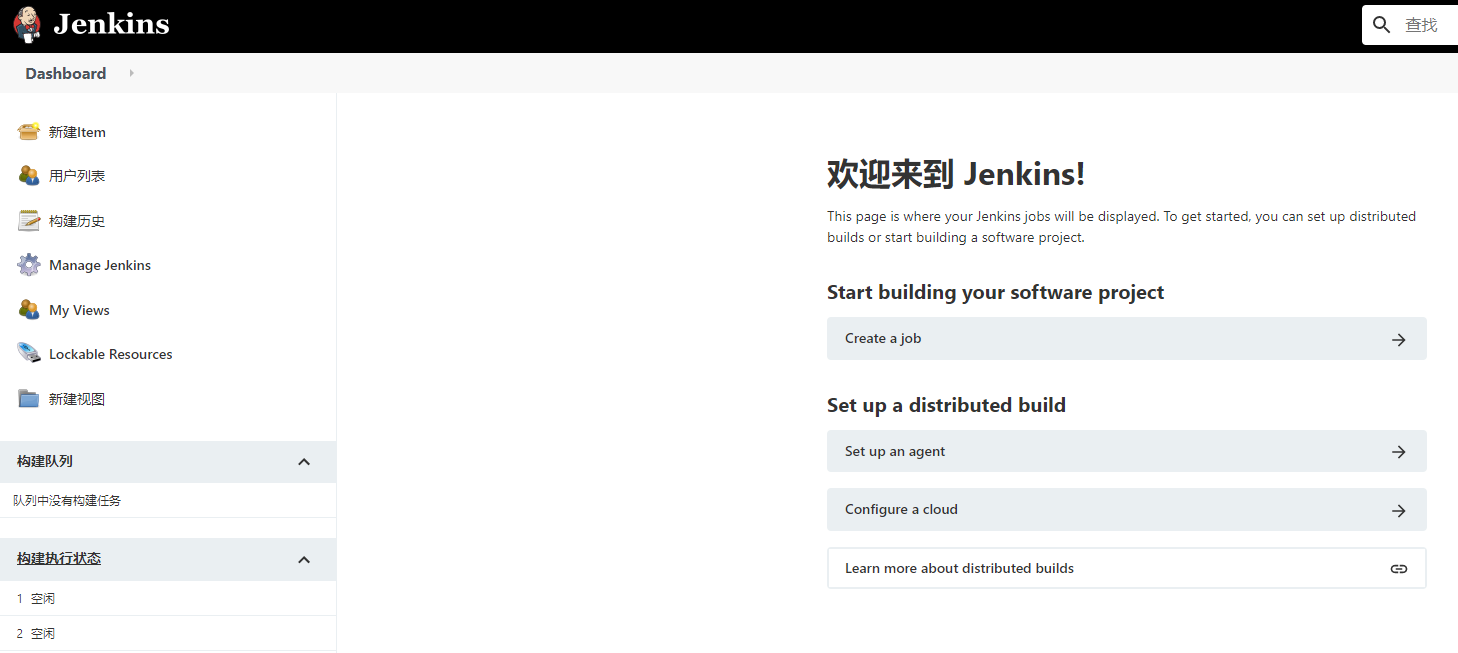
创建 Jenkins 项目
登录 Jenkins (http://192.168.1.11:8080)
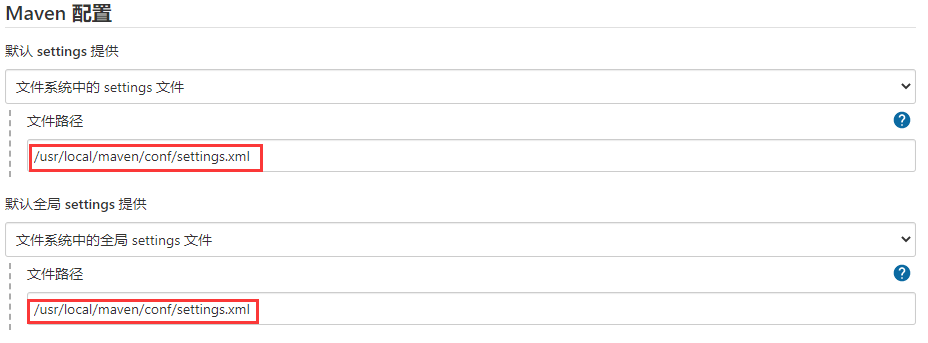
maven 环境设置
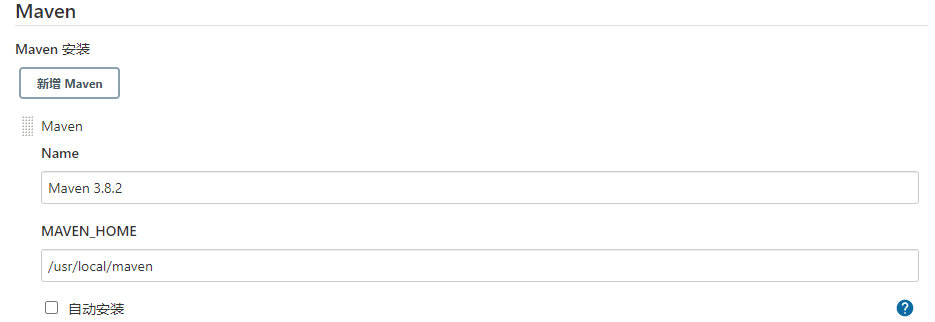
参考 gitlab 的 maven 安装,需要在 jenkins 的 web 界面配置好 maven 的配置文件所在路径,如果 Jenkins 所在服务器没有安装 Maven,也可以在以下界面的最下方进行 Maven 的安装。
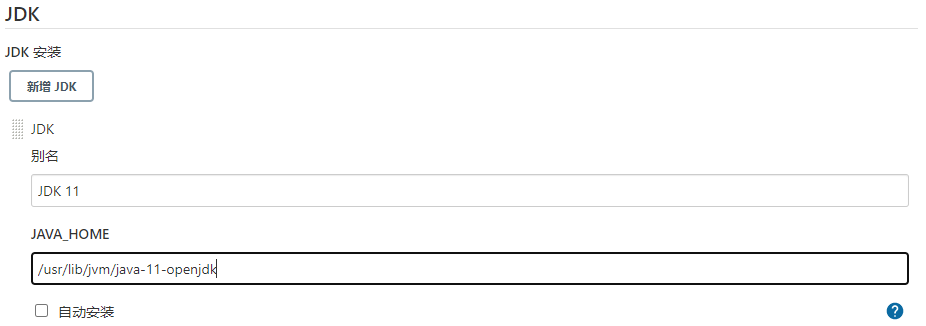
Manage Jenkins >>> Global Tool Configuration
这里的 java 是在部署 jenkins 时,yum安装的,如果环境中有其他的 java,则指定到安装路径即可,如果没有,也可以勾选自动安装,jenkins 将会帮你安装到指定的目录。
Maven 安装目录
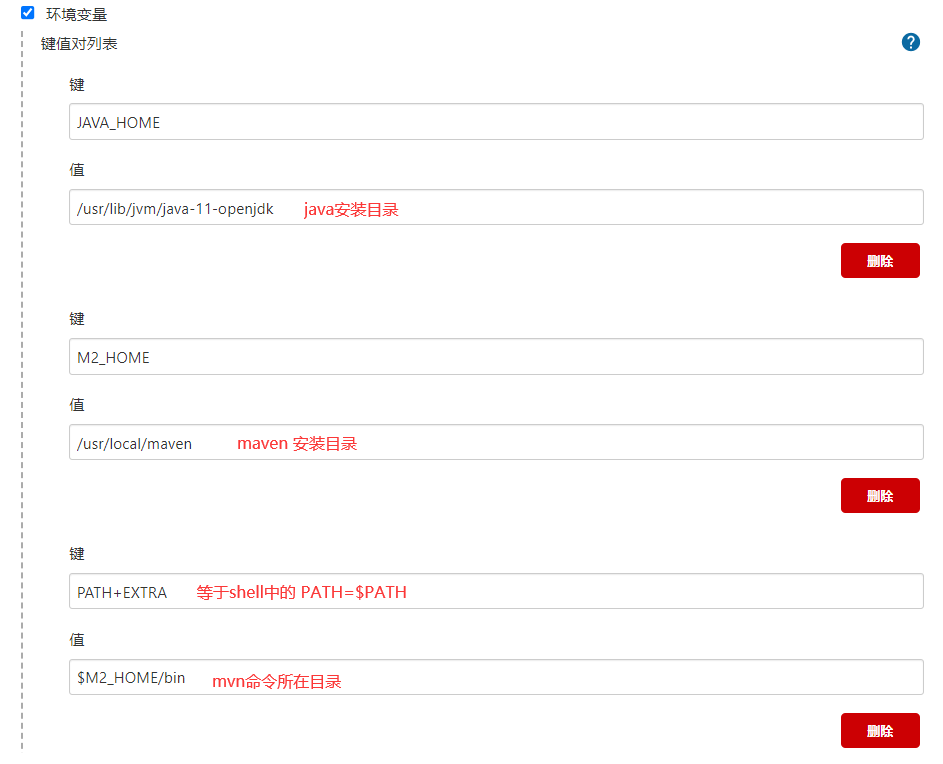
Manage Jenkins >>> 系统配置
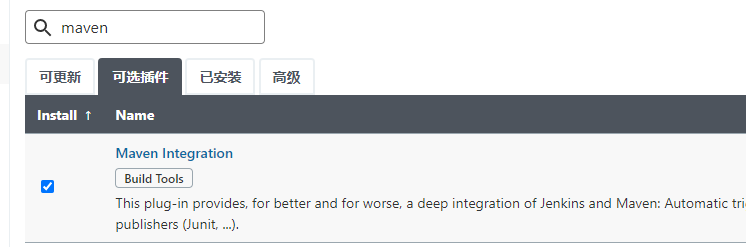
Manage Jenkins >>> Manage Plugins >> 可选插件 >>> 搜索 maven ,下载安装即可
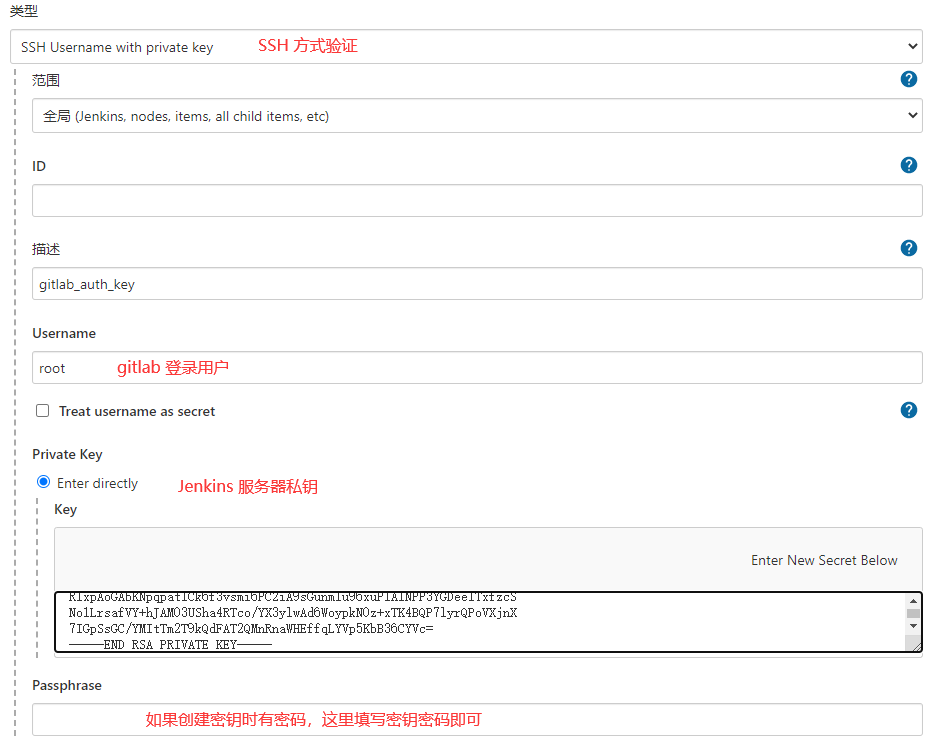
添加 Gitlab 凭证
这里要添加的是通过 密钥(SSH) 方式拉取 Gitlab 私有仓库的代码进行构建。
Git 插件在设置向导时,已经根据推荐安装好了,如果没有则下载插件 Git plugin,jenkins 所在服务器也要安装 Git 工具
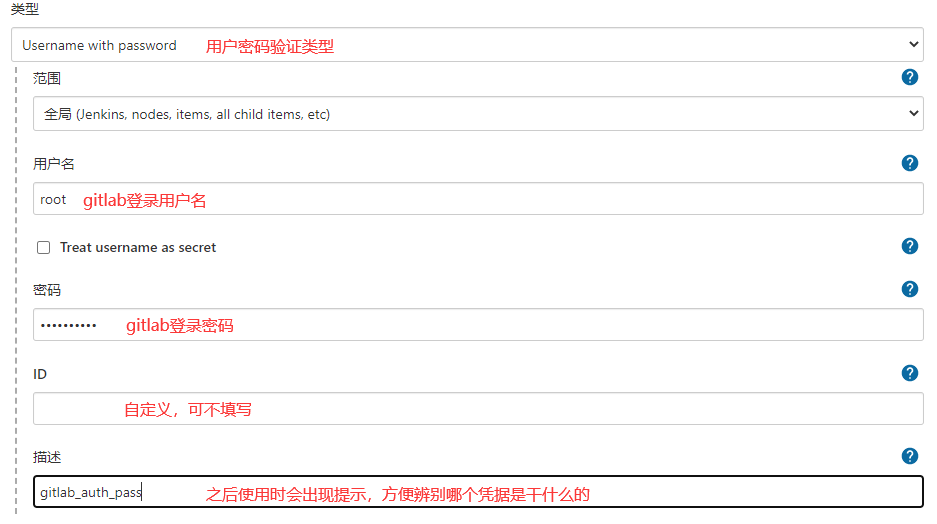
yum -y install git添加 Gitlab 凭证
Manage Jenkins >>> Manage Credentials >>> 全局 >>> 添加凭据
验证
将 Jenkins 服务器的公钥,复制到 Gitlab 上,参考上方 准备 gitlab 项目 中的 ssh 免密。
将 Jenkins 服务器的私钥,添加到 Jenkins 中
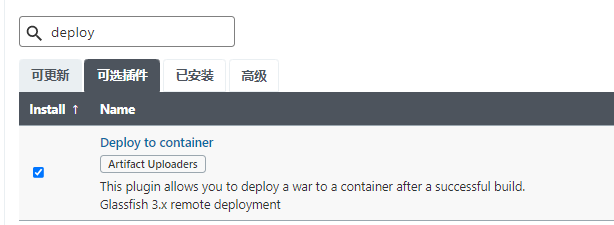
添加插件
用作部署
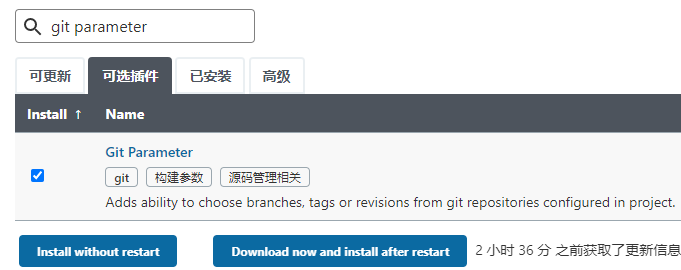
用作获取仓库的分支或者标签
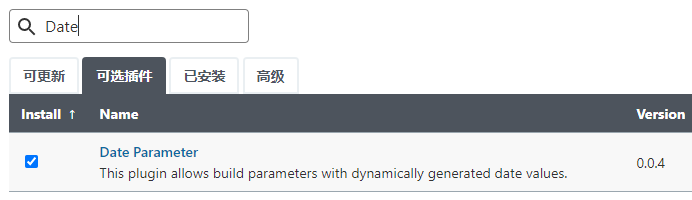
时间格式化插件
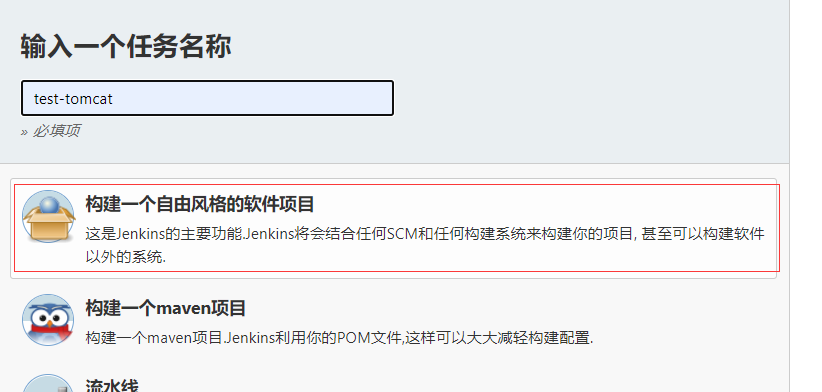
创建项目(脚本参数回滚)
自定义项目名字,选择自由项目,虽然 maven 项目对于 mvn 构建是友好的,但是对于做回滚脚本控制来说不太方便
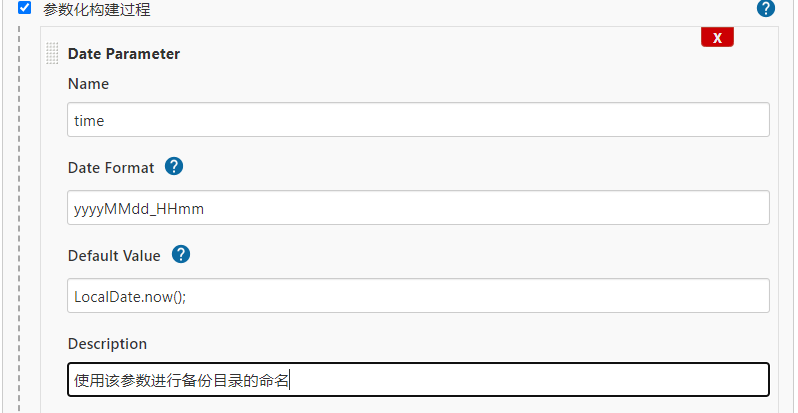
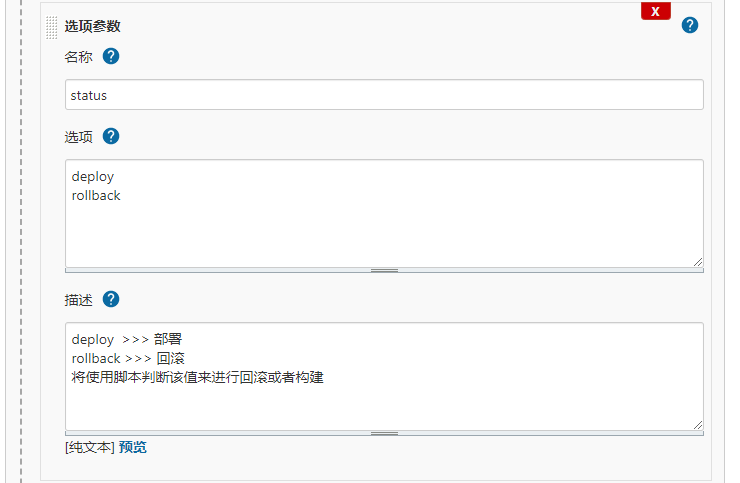
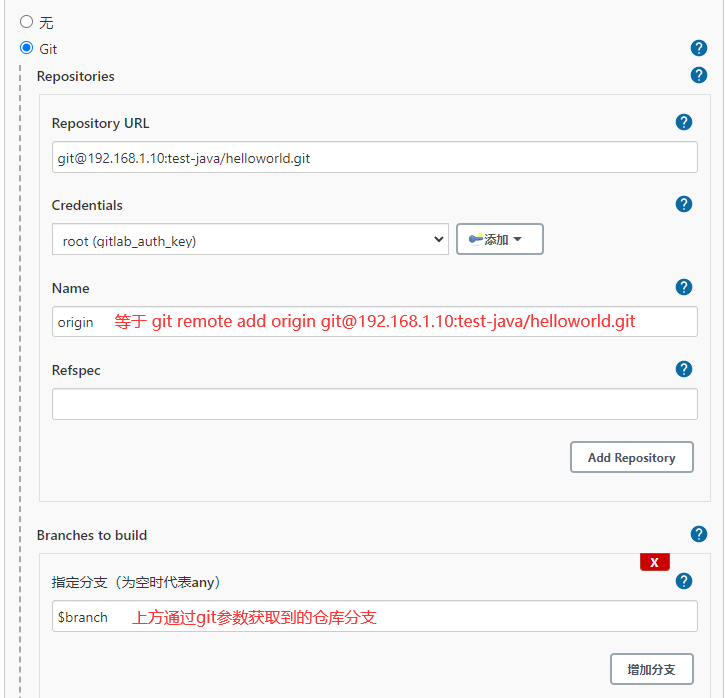
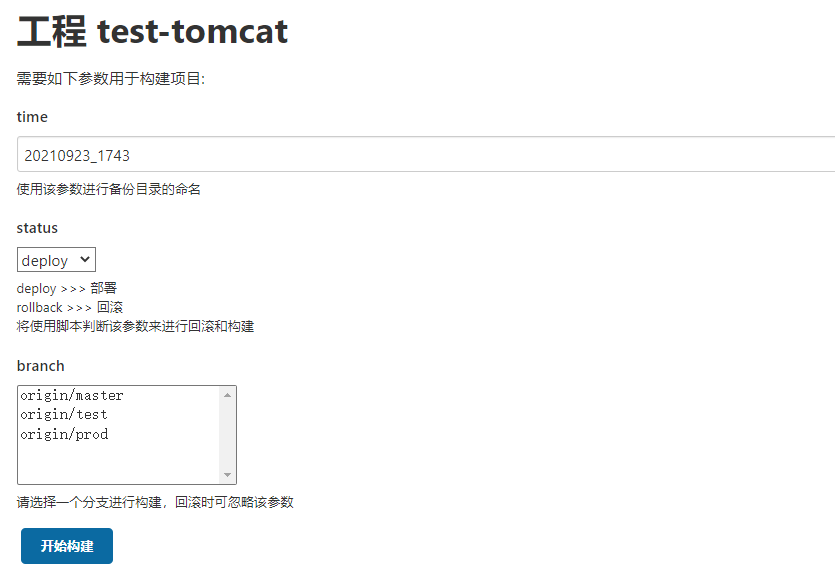
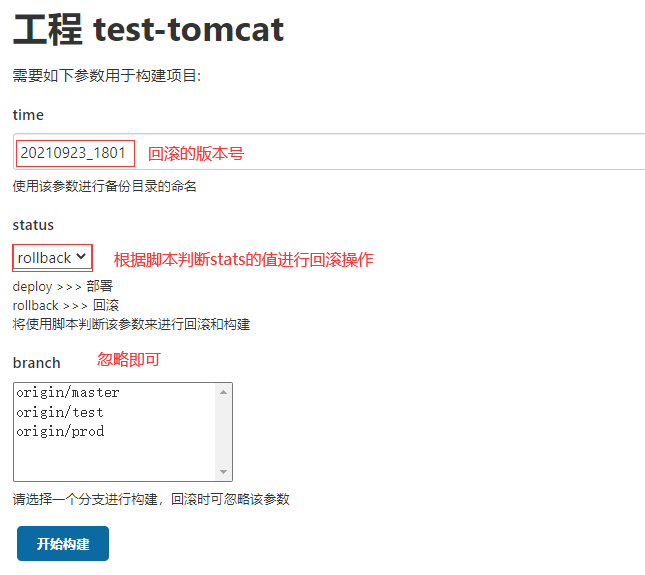
配置参数化构建
使用以下设置的 Git 参数将会获取到 git 仓库的所有分支
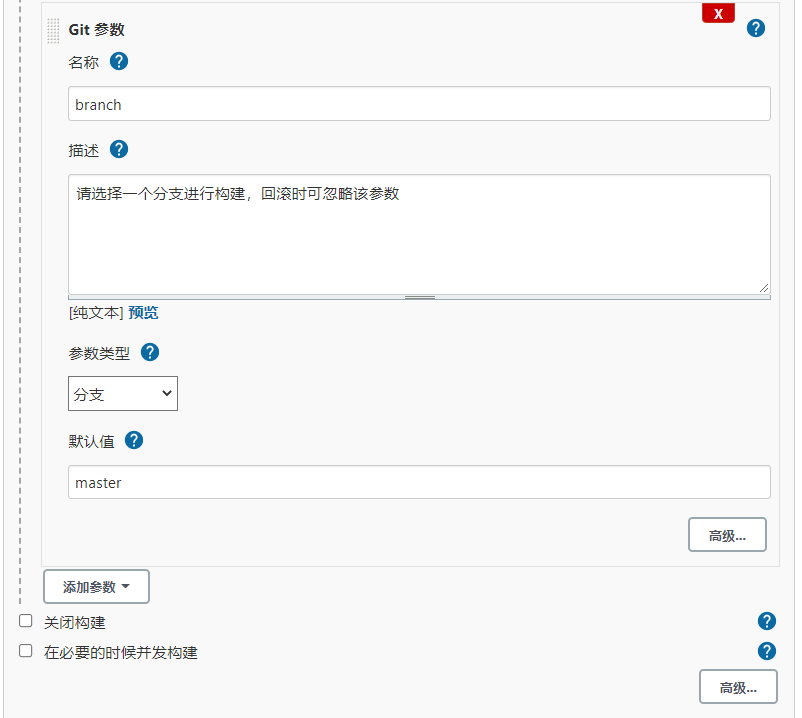
填写 Gitlab 项目地址
构建步骤
执行 shell
需要根据参数化构建的变量 [status | time],做 构建/备份/回滚
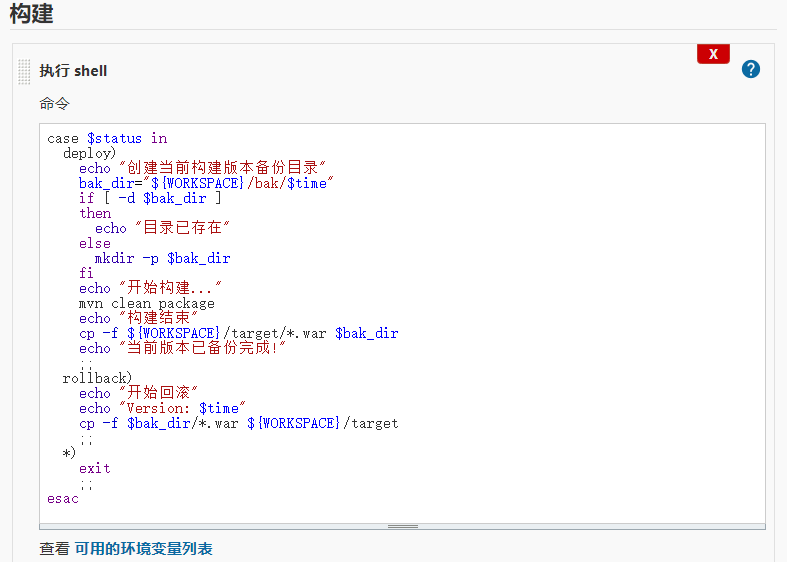
case $status in
  deploy)
    echo "创建当前构建版本备份目录"
    bak_dir="${WORKSPACE}/bak/$time"
    if [ -d $bak_dir ]
    then
      echo "目录已存在"
    else
      mkdir -p $bak_dir
    fi
    echo "开始构建..."
    mvn clean package
    echo "构建结束"
    cp -f ${WORKSPACE}/target/*.war $bak_dir
    echo "当前版本已备份完成!"
    ;;
  rollback)
    echo "开始回滚"
    echo "Version: $time"
    cp -f $bak_dir/*.war ${WORKSPACE}/target
    ;;
  *)
    exit
    ;;
esac
在添加一个构建 shell
增加构建后操作 >>>
做备份要进行数量限制,不能一直备份,对存储也是挑战,所在再写一个构建后步骤脚本
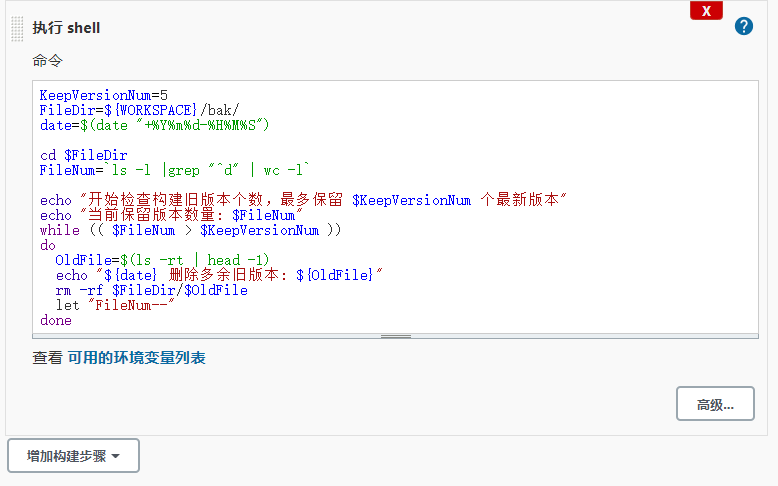
# 保留最新的5个
KeepVersionNum=5
# 备份所有版本所在目录
FileDir=${WORKSPACE}/bak/
date=$(date "+%Y%m%d-%H%M%S")

cd $FileDir
# 备份所在目录中有多少目录
FileNum=`ls -l |grep "^d" | wc -l`

echo "开始检查构建旧版本个数,最多保留 $KeepVersionNum 个最新版本"
echo "当前保留版本数量: $FileNum"
# 当前备份版本的数量 > 想要保留的版本数量,则执行以下循环
while (( $FileNum > $KeepVersionNum ))
do
  # 将当前目录下的所有目录以时间正序排序,head -1显示第一个
  OldFile=$(ls -rt | head -1)
  echo "${date} 删除多余旧版本: ${OldFile}"
  # 删除多出来的旧版本
  rm -rf $FileDir/$OldFile
  let "FileNum--"
done
构建后操作
使用构建后操作来发布新版本
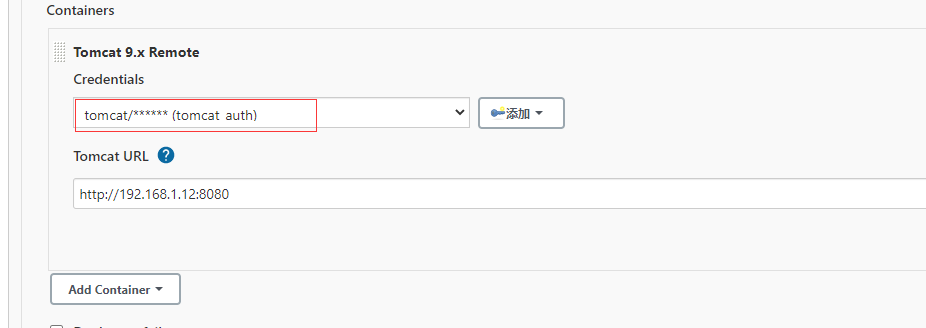
增加构建后操作 >>> Deploy war/ear to a container :这一步也可以改为添加 shell 脚本,使用 scp 来部署传送 war 包到目标机器
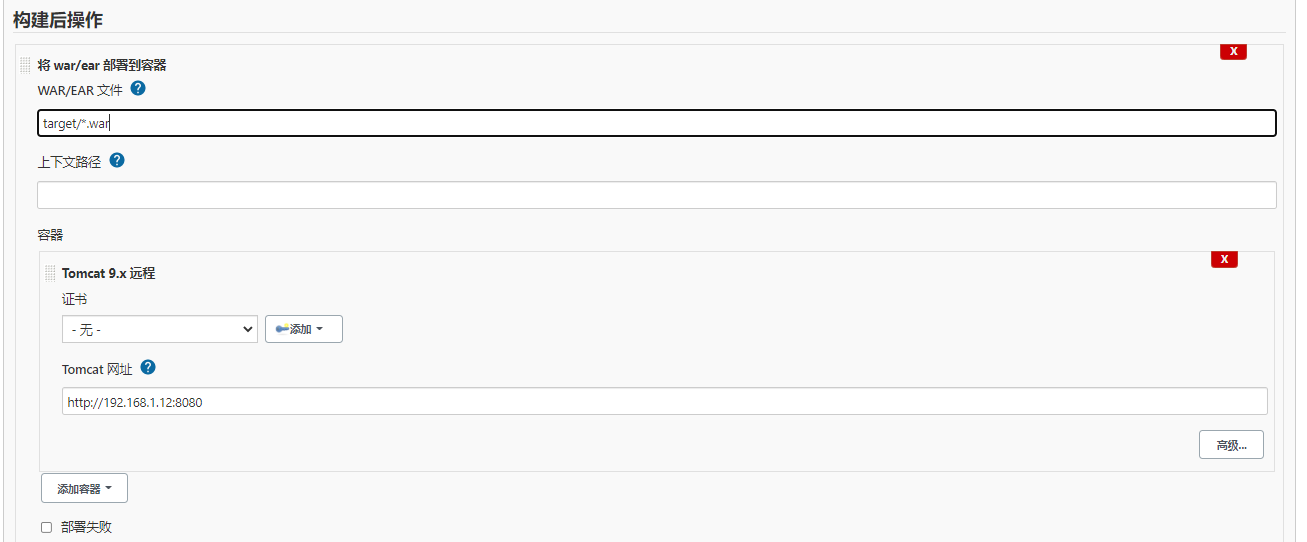
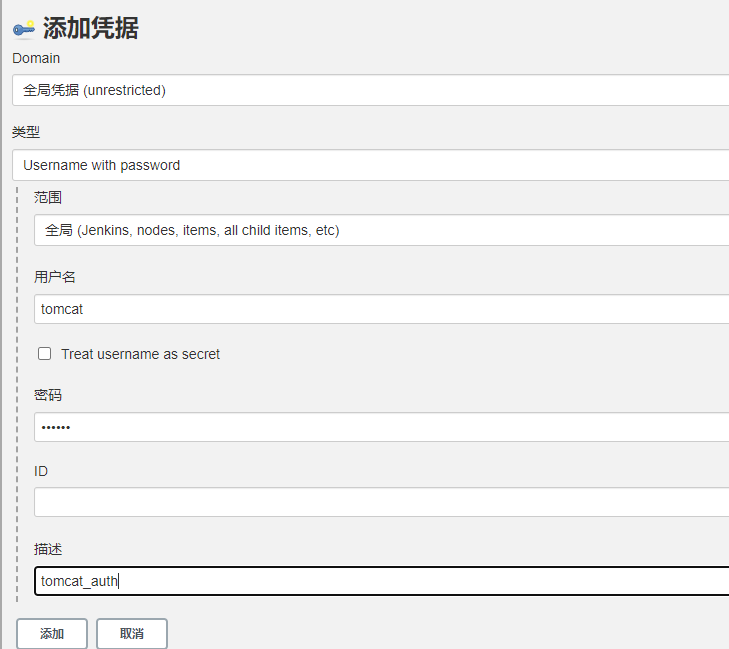
添加 tomcat 凭证:部署tomcat时的配置
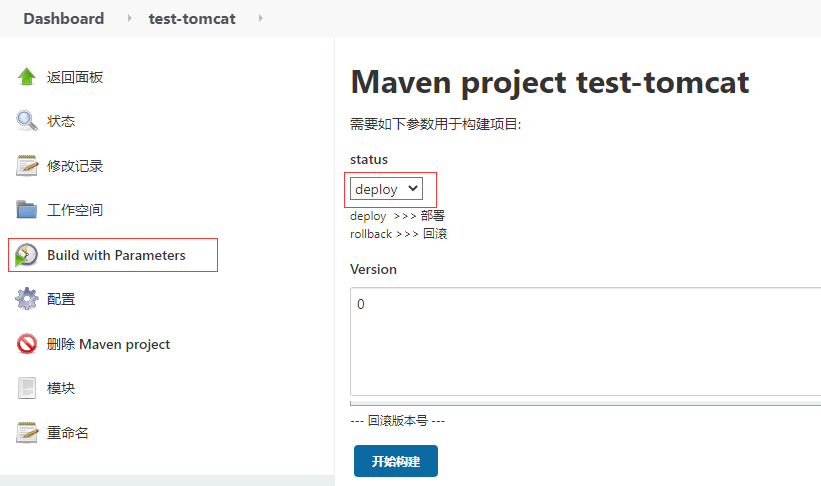
开始构建
正常构建使用 deploy 即可
分别选择 3 个分支进行构建 3 次,time 和 status,不操作,依次选择不同的分支构建即可
每次构建结束后,验证访问 http://192.168.1.12:8080/helloworld
# master分支
$ curl http://192.168.1.12:8080/helloworld/
<html>
<body>
<h2>Hello World!</h2>
</body>
</html>
# test分支
$ curl http://192.168.1.12:8080/helloworld/
<html>
<body>
<h2>Hello Test!</h2>
</body>
</html>
# prod分支
$ curl http://192.168.1.12:8080/helloworld/
<html>
<body>
<h2>Hello Prod!</h2>
</body>
</html>
回滚操作
查看 jenkins 服务器的备份目录
$ ls /var/lib/jenkins/workspace/test-tomcat/bak
20210923_1801  20210923_1803  20210923_1804  20210923_1805
选择其中一个进行回滚
博客内容遵循 署名-非商业性使用-相同方式共享 4.0 国际 (CC BY-NC-SA 4.0) 协议