CentOS搭建WordPress个人博客

准备LNMP环境
本站也有源码安装LNMP的文档,本文采用yum安装
安装Nginx
[root@localhost ~]# yum -y install epel-release
[root@localhost ~]# yum -y install nginx
修改配置
[root@localhost ~]# vim /etc/nginx/nginx.conf
# 添加注释
# listen       [::]:80 default_server;
启动nginx
[root@localhost ~]# nginx
[root@localhost ~]# chkconfig nginx on
安装MySQL
# 下载安装repo源
[root@localhost ~]# wget http://repo.mysql.com/mysql-community-release-el7-5.noarch.rpm
[root@localhost ~]# rpm -ivh mysql-community-release-el7-5.noarch.rpm
# 安装
[root@localhost ~]# yum -y install mysql-server
启动服务
[root@localhost ~]# systemctl start mysqld
[root@localhost ~]# chkconfig mysqld on
安装PHP
[root@localhost ~]# yum -y install php-fpm php-mysql启动php-fpm
[root@localhost ~]# systemctl start php-fpm
[root@localhost ~]# chkconfig php-fpm on
安装配置wordpress
[root@localhost ~]# yum -y install wordpress配置wordpress数据库
[root@localhost ~]# mysql
mysql> CREATE DATABASE wordpress;
mysql> GRANT ALL ON *.* TO 'wordpress'@'localhost' IDENTIFIED BY '123.com';
修改wordpress的php文件连接数据库
[root@localhost ~]# vim /etc/wordpress/wp-config.php
# 修改
define( 'DB_NAME', 'wordpress' );    # wordpress数据库
define( 'DB_USER', 'wordpress' );    # 授权用户
define( 'DB_PASSWORD', '123.com' );  # 用户密码
修改nginx配置文件
[root@localhost ~]# vim /etc/nginx/nginx.conf
# server部分修改为如下
server {
    listen 80;
    root /usr/share/wordpress;
    location / {
        index index.php index.html index.htm;
        try_files $uri $uri/ /index.php index.php;
    }
    # pass the PHP scripts to FastCGI server listening on 127.0.0.1:9000
    location ~ .php$ {
        fastcgi_pass   127.0.0.1:9000;
        fastcgi_index  index.php;
        fastcgi_param  SCRIPT_FILENAME  $document_root$fastcgi_script_name;
        include        fastcgi_params;
    }
}
重启nginx
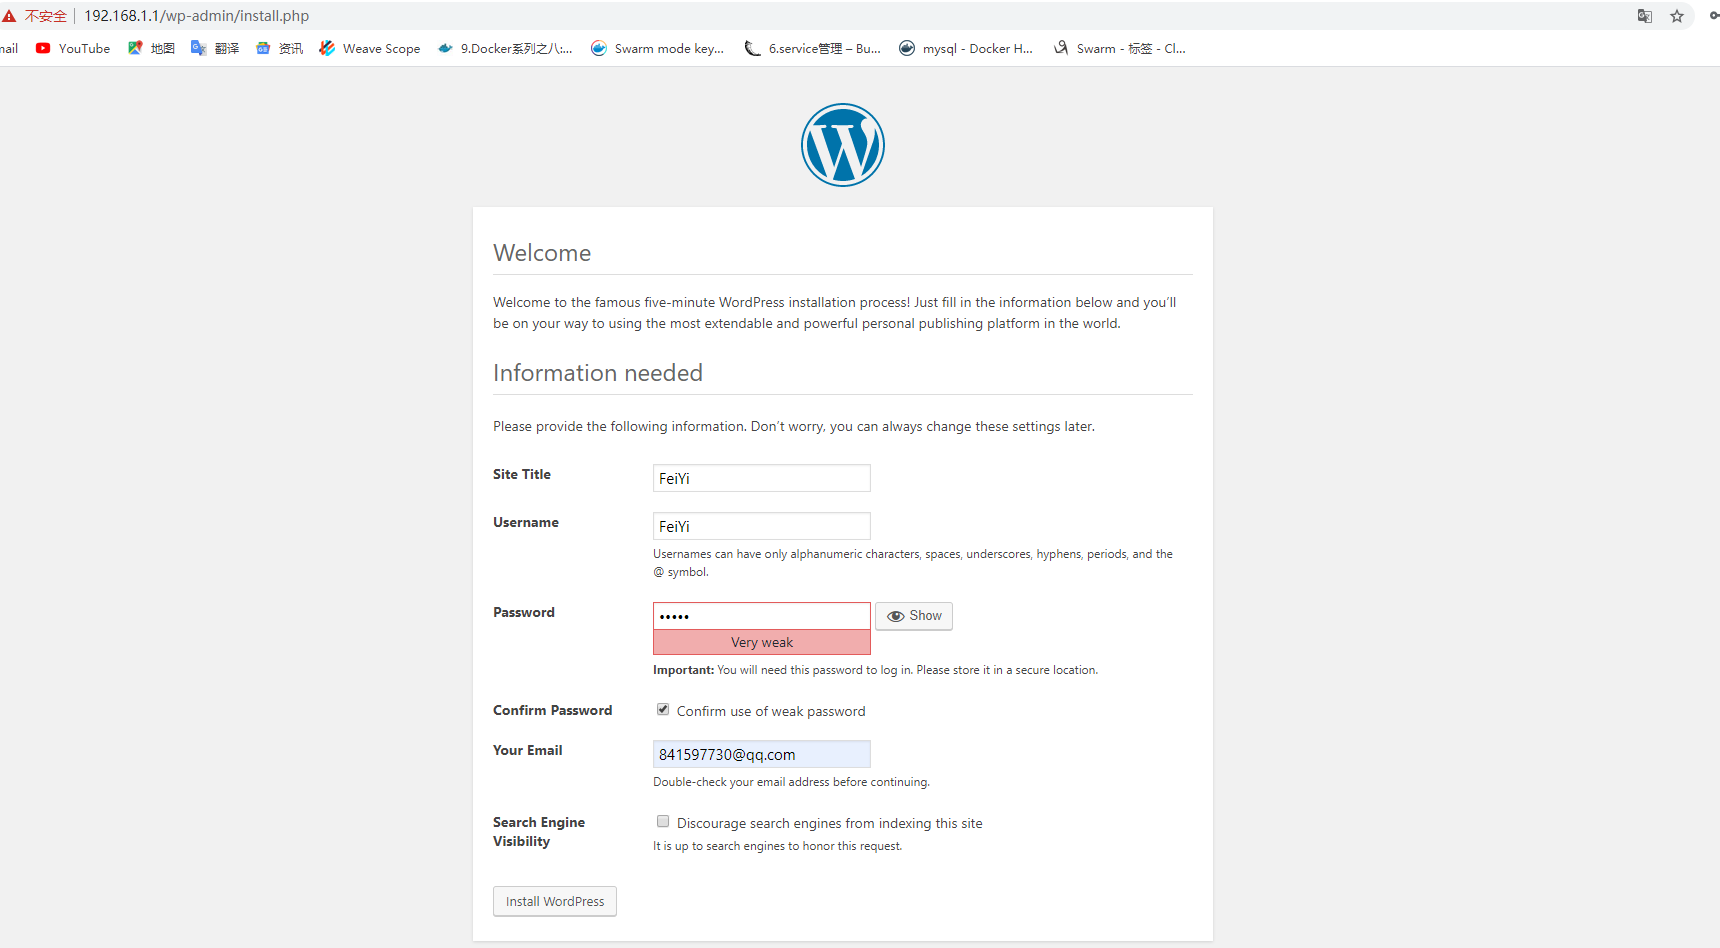
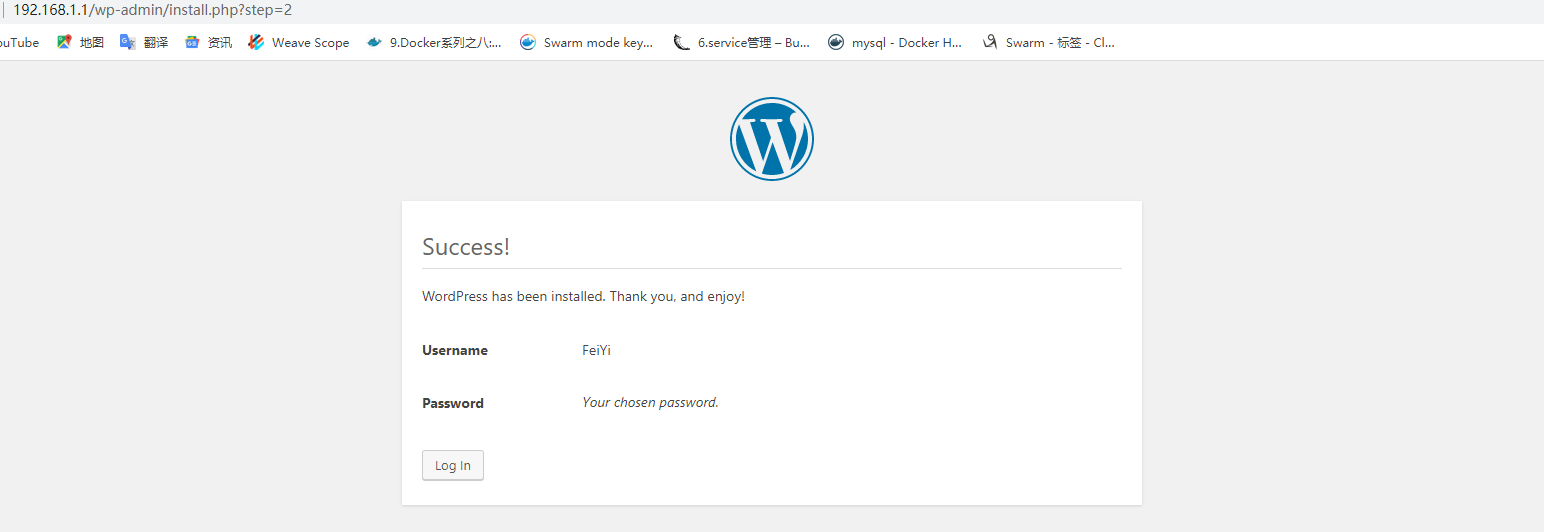
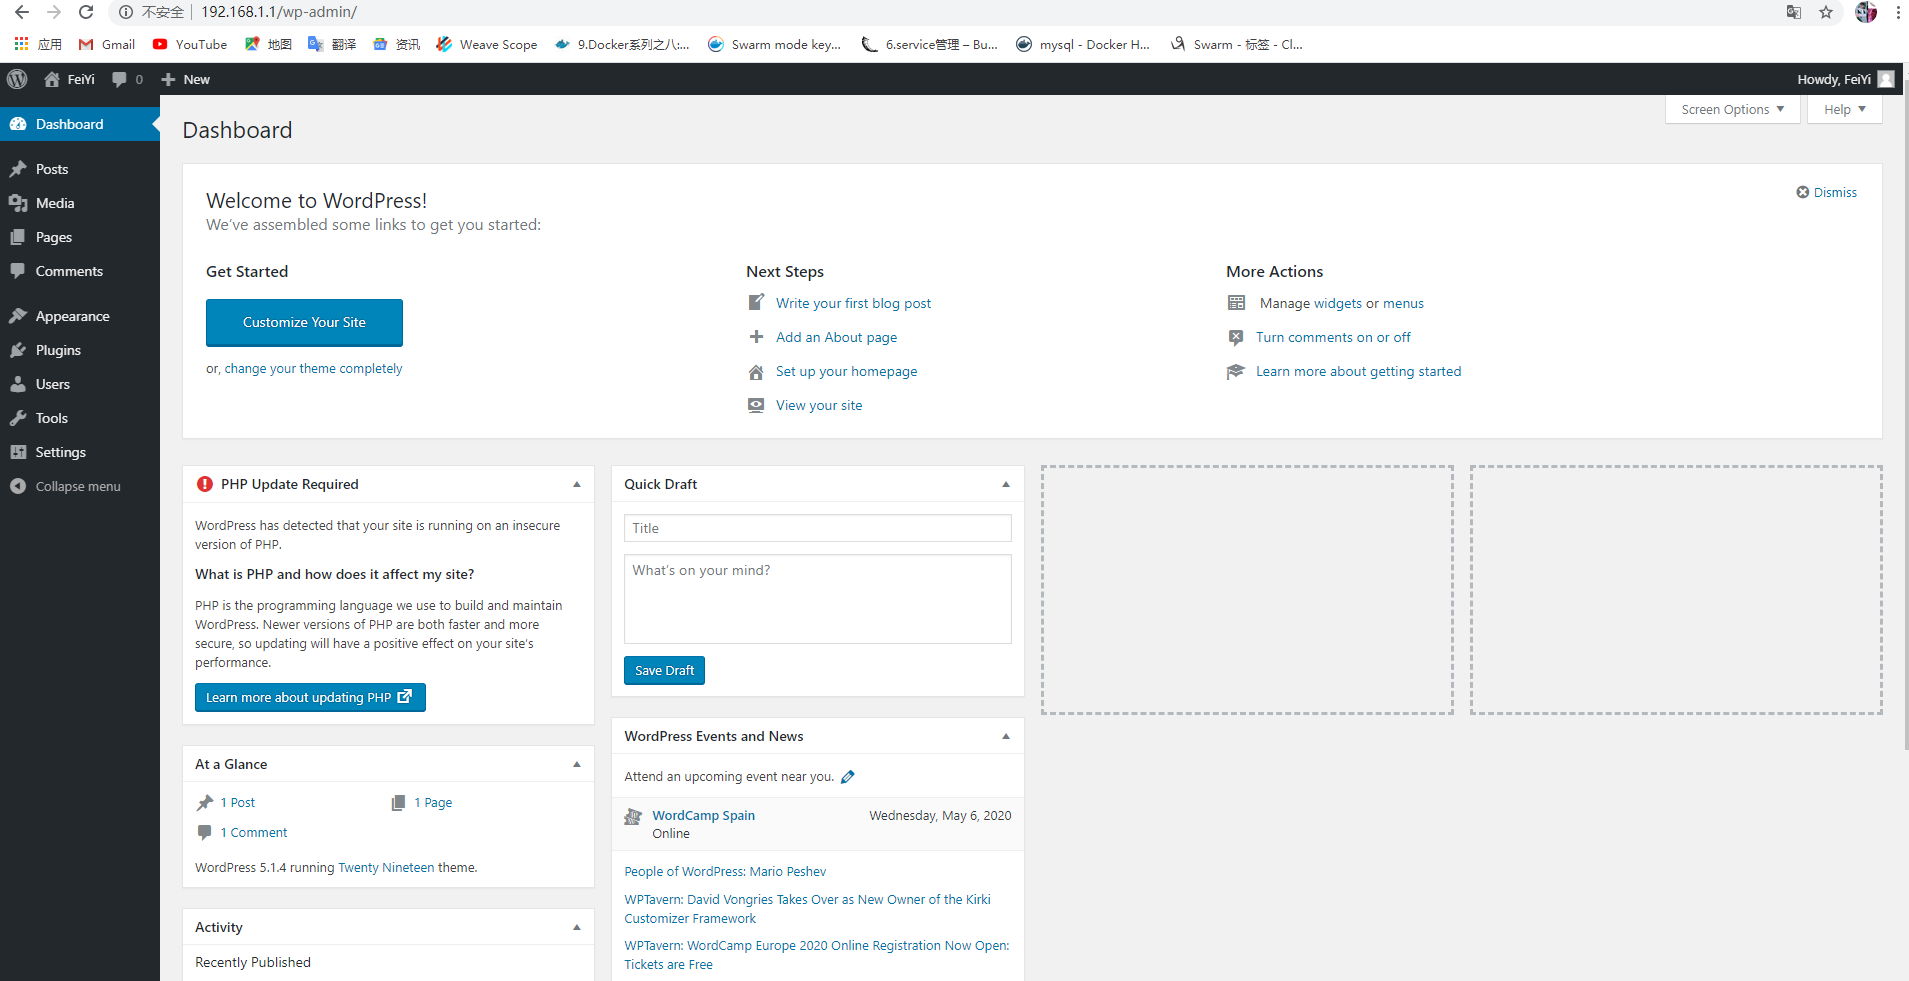
[root@localhost ~]# nginx -s reload访问http://192.168.1.1/wp-admin/install.php
博客内容遵循 署名-非商业性使用-相同方式共享 4.0 国际 (CC BY-NC-SA 4.0) 协议